
This tutorial is to be used in conjunction with the end bearing plate replacement tutorial. One option is to replace only the bearing instead of the whole bearing plate.
| 1. Notice that this bearing is worn to the point that you can see between the race and the bearing housing. | 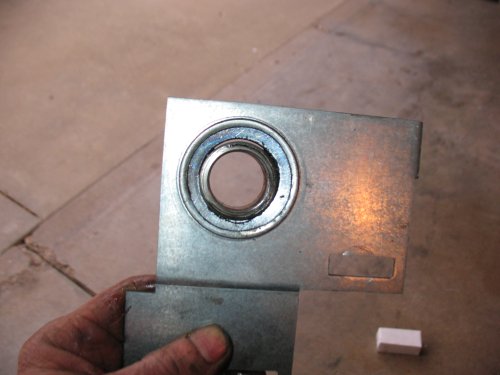 |
| 2. To replace the bearing, you will need a short cylinder that is about an inch deep and about 2 1/4 " in diameter. I use a part I picked up at a plumbing supply house. | 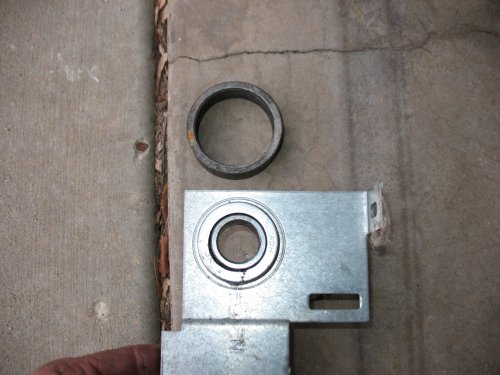 |
| 3. Center the bearing over the fitting and knock the bearing out with a hammer. The wider part of the outer ring of the bearing needs to be on the bottom of the plate. | 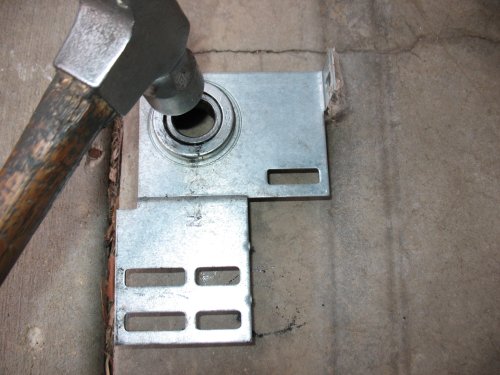 |
| 4. Here you see the bearing has been knocked out. | 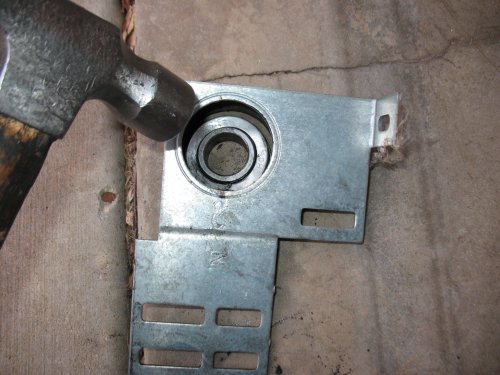 |
| 5. Turn the end bearing plate over and position the new bearing in the plate, as shown. | 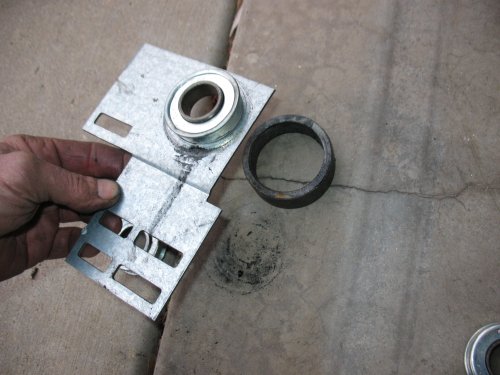 |
| 6. Center the plate and bearing over the cylinder. The bearing will be hammered into the bracket. You will need some kind of fitting with at least a 1 1/4" hole and an outer rim or edge that is at least two inches. I use a 1 1/4" collar. | 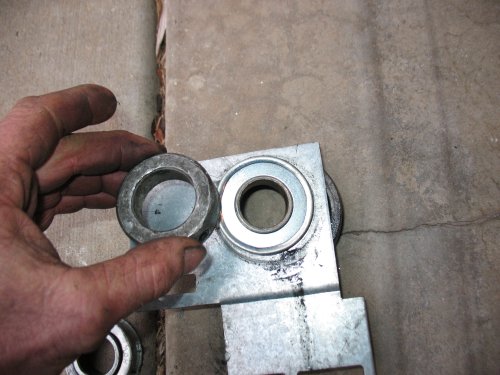 |
| 7. Hammer the bearing into the plate using the wide side of the hammer claw. | 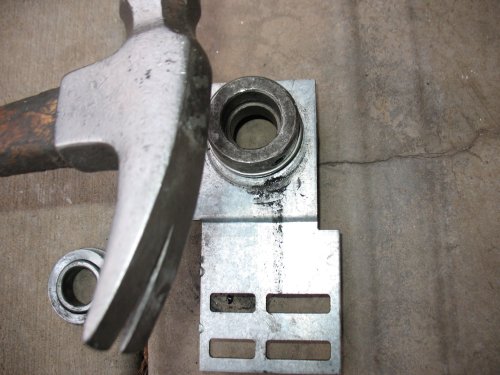 |
| 8. Continue hammering. Make sure the tools are properly aligned to allow the bearing to slide into the bracket. | 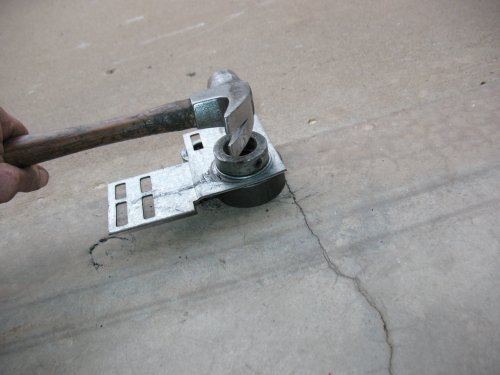 |
| 9. Here you see the new bearing installed in the bearing plate. | 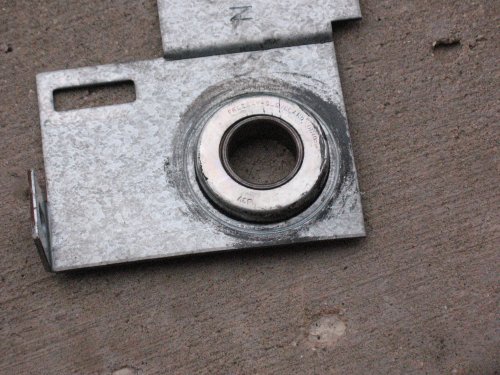 |