The following instructions demonstrate how to replace extension springs on a one-piece single panel garage door. On this garage door, there was no opener. If you have an opener, you will need to disengage the opener and unplug the power to the opener.
Let's begin.
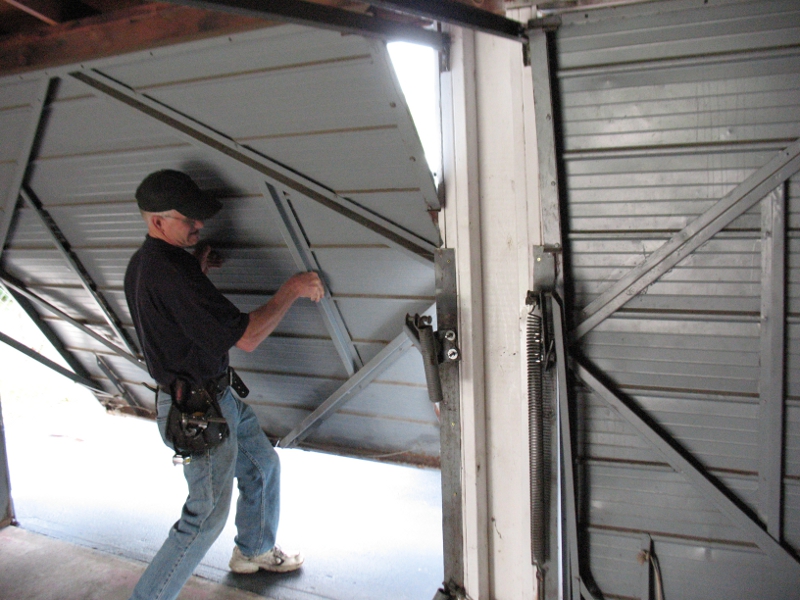
1. Open the garage door.
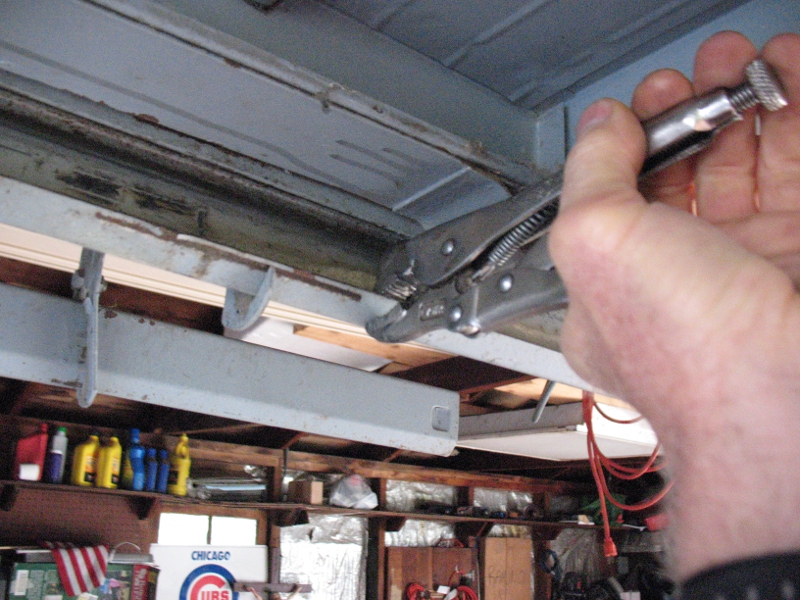
2. Attach a vise-grip to the track or support door with ladder or board.
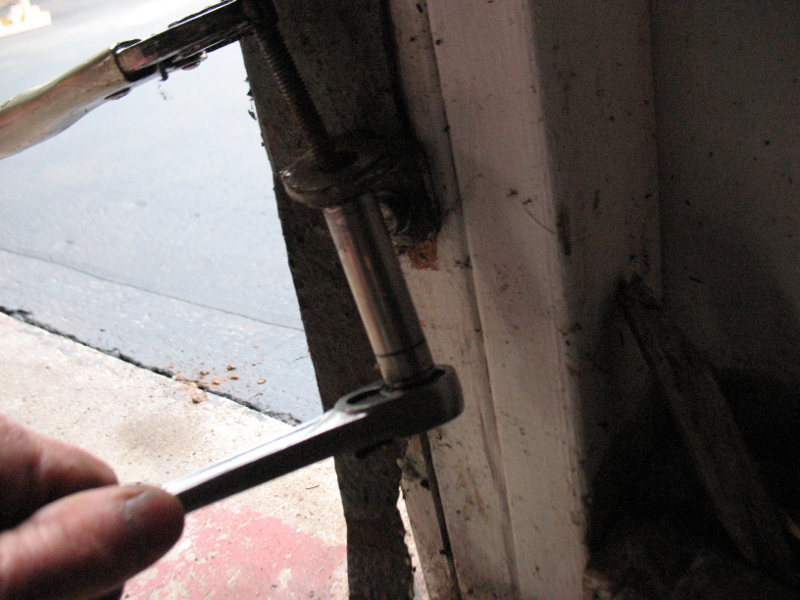
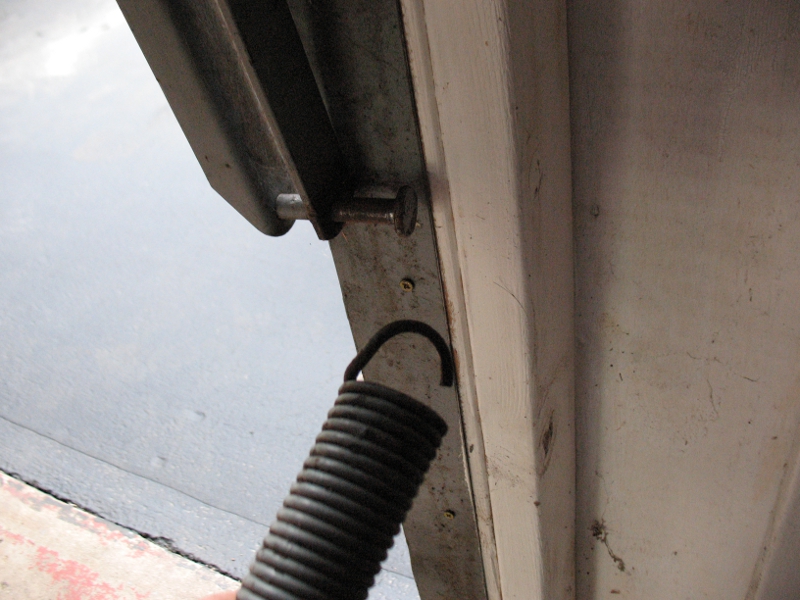
3. Loosen the nut below the bottom of the first spring.

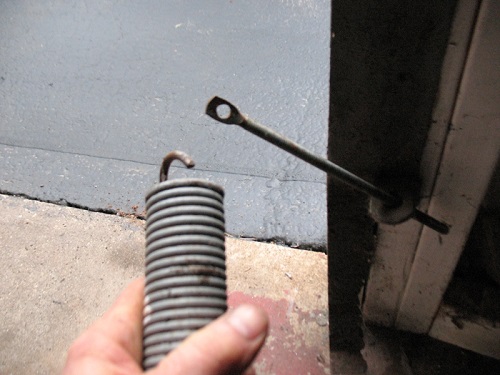
4. Remove the old spring.

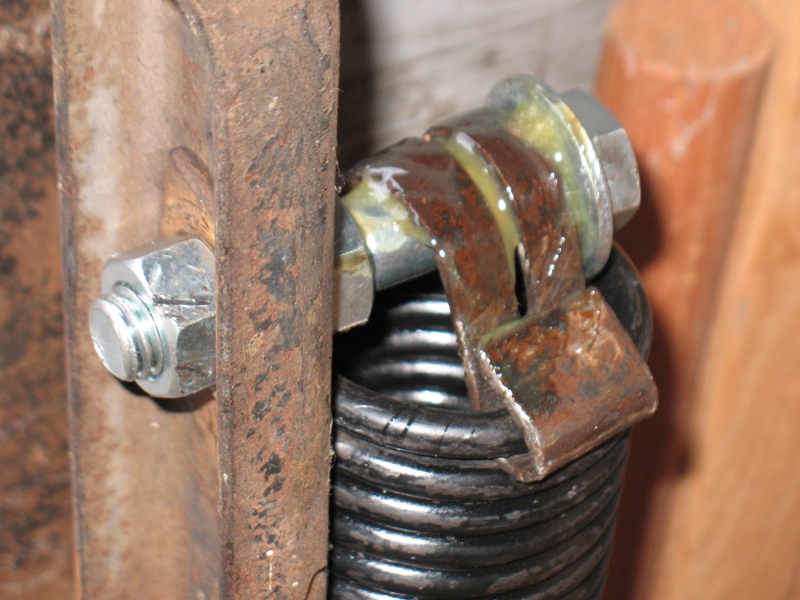
5. The top pivot bolt on some doors has bearings that are worn. If your bearing or shaft is worn, replace it with a half inch X 2 inch bolt, two half inch nuts, and a half inch washer. Lubricate the bolt with wheel bearing grease or Vaseline as pictured. Your local Ace Hardware store usually has all the parts you can purchase individually.
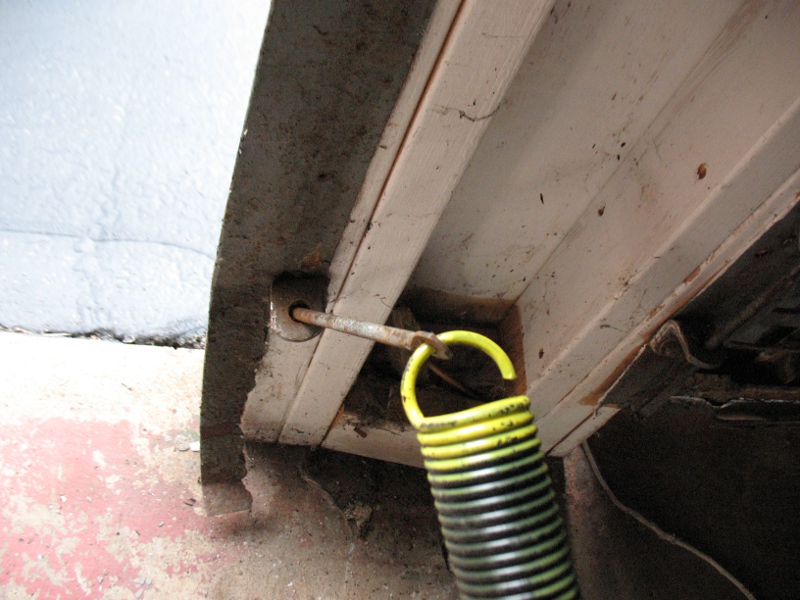
6. Install the new spring.
7. Tighten the nut to its original position.
8. Repeat the process with the other spring.
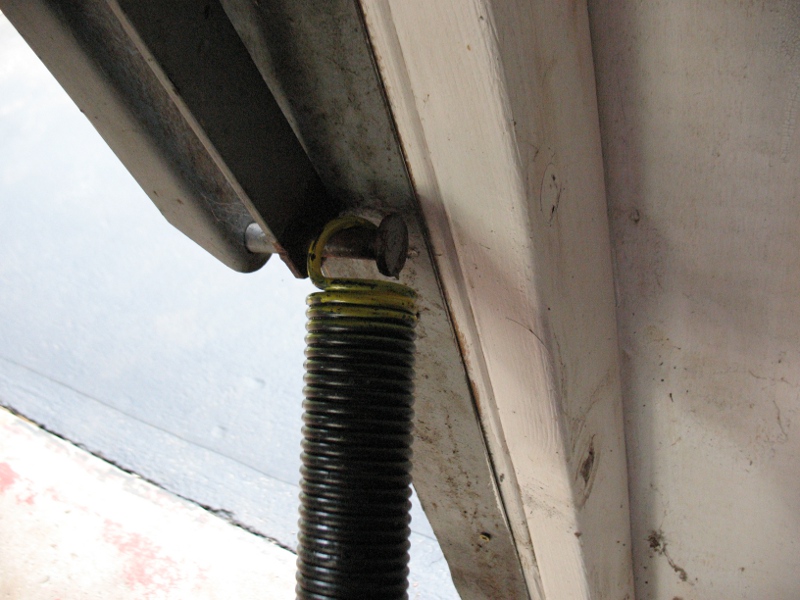
9. Test the springs and adjust the bottom nut on each spring as needed.